Wednesday, September 18, 2013

RECRUITS - Great time!

Lee's Summit High School - Recruits!
Doug and I just returned from Recruits in Kansas City.  The drive took a little over 9 hours but the I70 drive as you may know is pretty straight and flat.  Doug brought along an Audio book about the Mongol Empire.  It really made the time move along.  A couple of fuel and food stops on the way and we were in Kansas.  We stayed at a Fairfield Marriott about 2 miles from Lee's Summit High School.  It was a very nice place to stay with everything you needed between us and the School facility, i.e., restaurants, stores, markets, etc.

We were more than pleased with the whole trip.  This Con felt larger than our local events here in Denver.  I have to say what really made this Con was the hospitality of the Staff and all the people we met.  I can't wait to go back.

Nick Wilkowski coordinates Recruits.  Nick and his staff were so helpful.  The whole event was very well coordinated.  By the way, signing up games for the event was effortless.  Whoever handles their website and signup forms needs a pat on the back and our event leaders here in Colorado should take note.  Besides the registration staff they had members on the floor making sure all of the games were moving along and the Game Masters were taken care of.  They also had a snack bar at the Gym entrance which served up pizza, hot dogs, cookies, drinks, etc.

Nice Snack Bar
Entrance to Gym straight ahead
Recruits is scheduled in 3 hour sessions.  So they had Sessions 1 through 7 from Friday Evening to Sunday morning/afternoon.  They suggested that if your game took more then 3 hours simply sign up for the next session to make sure you had enough time.  So Doug and I ran Bolt Action in Sessions 1, 2 and 7 and an SDS Napoleonic in 5 and 6.  Well we did one SDS in 5 and Bolt Action again in 6.  Everyone had a blast.

Surrounded by Dealers 
Friday Afternoon setup 
The entry fee was $5 for the entire weekend.  There was no fuss with tickets and what events were open of closed, etc.  You simply showed up at the event and played.  I didn't see many people held out of any games.  The whole process was well coordinated.

The gaming tables took up the entire Basketball Gym with the dealer tables all around the edges.  It was a perfect setting playing your battles and able to get up between turns and walk up to a local dealer.  I was looking for the 40k guys so walked around a bit.  I noticed people going down one floor which basically is below the floor we were on.  Well, there they were, the 40K tourney in all its glory.  A very large space and couple of dealers that focused on Sci Fi were also there.  Very nice setup.

Tables starting to fill
As you know they used to have Spring and Fall Recruits but have decided to makes this a larger event and concentrate on the one.  As this event gets larger they will probably invite more Dealers to attend.  I know Bill Daniel and John Wharrier have been trying to get more of us from CMH to attend and now I can see why.  I mentioned to Nick that I would definitely be coming back and hopefully in force with more CMH and CSGA players playing and putting on games.  He also mentioned to bring stuff to sell.  He had a good point because he mentioned that they see a lot of the same stuff year after year.  We have the same situation so it would be great to inject different items for sale and trade from our clubs.

We did run into Bill Daniel and Todd Pressley.  It was great seeing them there.  And I met many new friends!  Dave Franklin, Bill Cauble, Larry Armin, Geoff McHarg, Phil Flores, Conrad, Mark Lueckenhoff, Jim Finneran to name a few.  It was so good to meet all of you!  I know we will be in touch and will be throwing dice with each other again soon.

I put on a Bolt Action Demonstration Game.  The board build was on my last post if you want to check it out.  We had a lot people interested in playing Bolt Action.  Jim on his demonstration boards and my battle board always had players throughout the Con throwing down dice, asking questions and really, everyone picking it up pretty fast.

So that is it in a nutshell.  Hope you enjoy the pictures.


Swashbucklers!  By Jeff "Gully" Gullion
Wind in the Wires (WWI)  by Steve, Ed and Chris
Freeblades by Jon Cleaves (Todd and Bill were in this battle)

Steampunk Battle by Jason and Kim Wilborn
Todd
Lobositz by Mark Pretzel (Geoff, Doug, Dave and Conrad)
Bolt Action - Jim teaching a demo game
Jim introducing more players to Bolt Action while the previous "class"
went on to play on his excellent Tarawa Board.
Pirates! - Raid on the Spanish Main by "Gully"

More of this excellent setup!
French and Indian War by Chris Cluckey - Beautiful Terrain!!
54mm figures fighting on this work of art Terrain.
More views
French Indian War
Great job Chris!

Boxer Rebellion by Bob Davis
Bolt Action (Todd, Geoff, Dave, Doug, Bill) We had a lot of fun!
Jim's beautiful Tarawa Board.  Marines taking the beach working their
way to the command bunker!  I also played a couple of games on his table.
More Bolt Action!


Monday, September 2, 2013

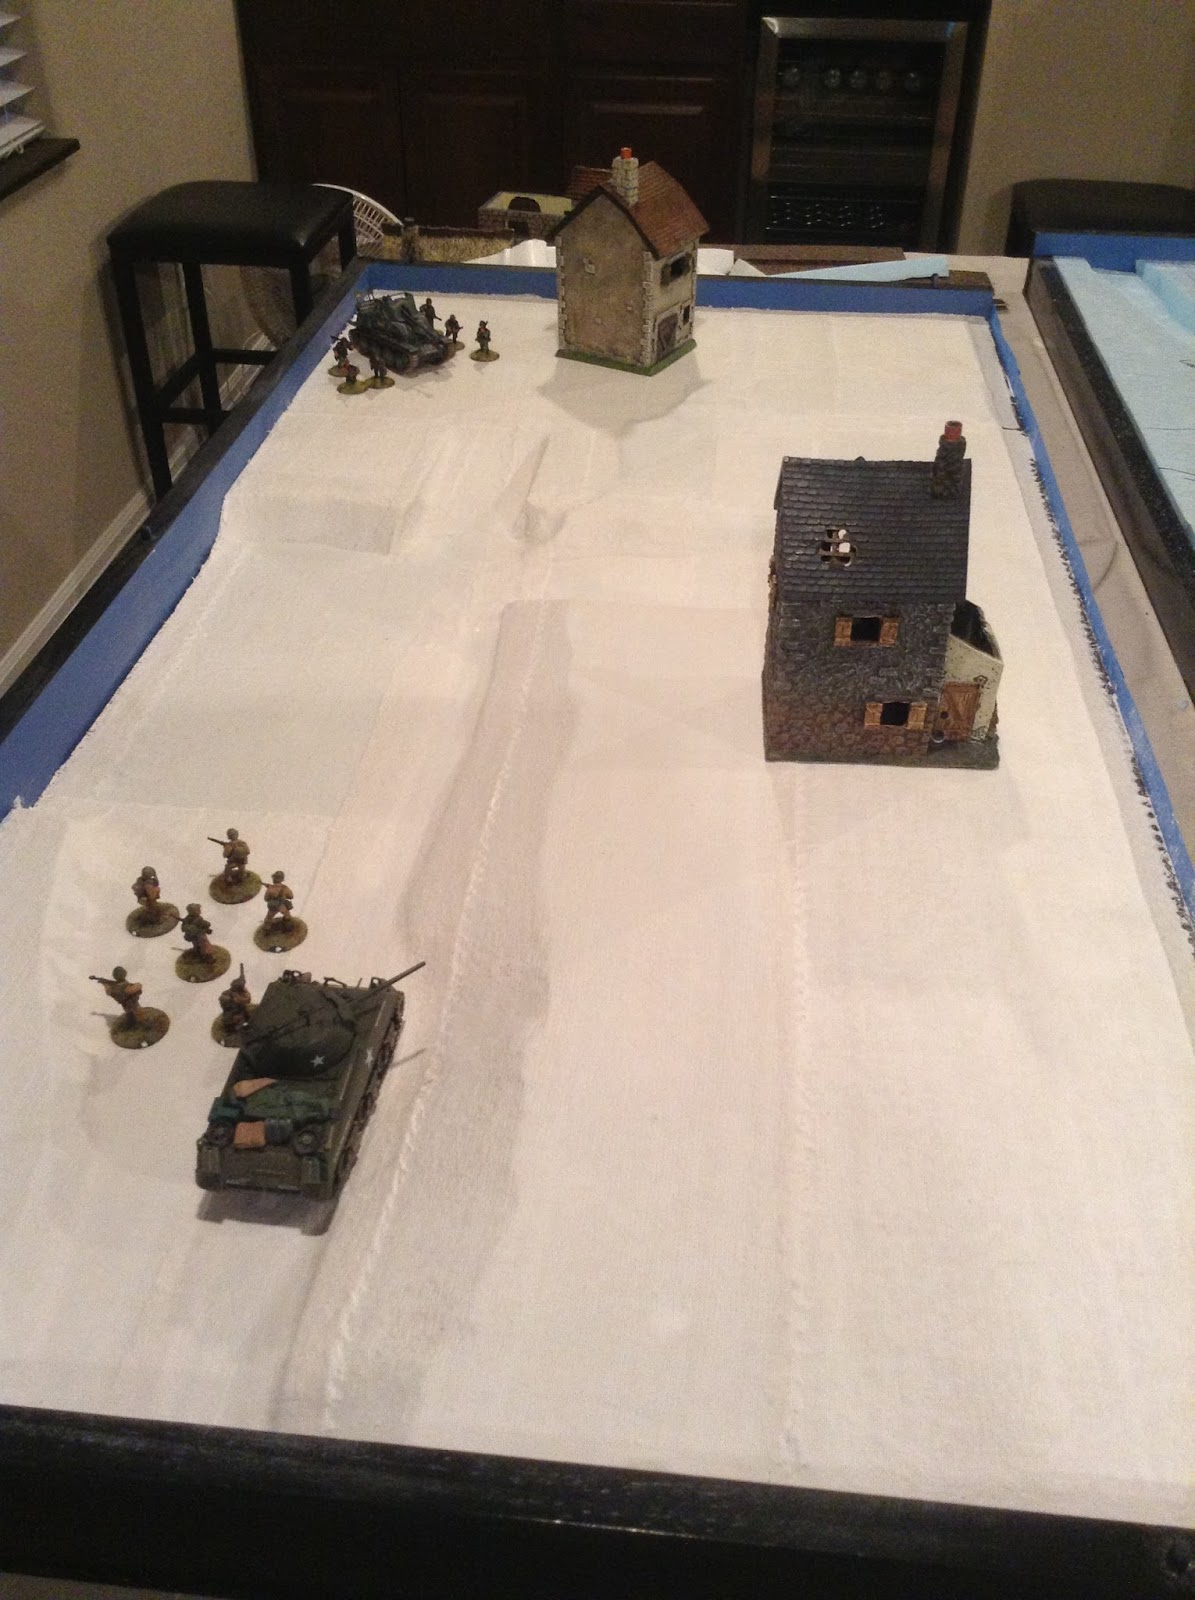
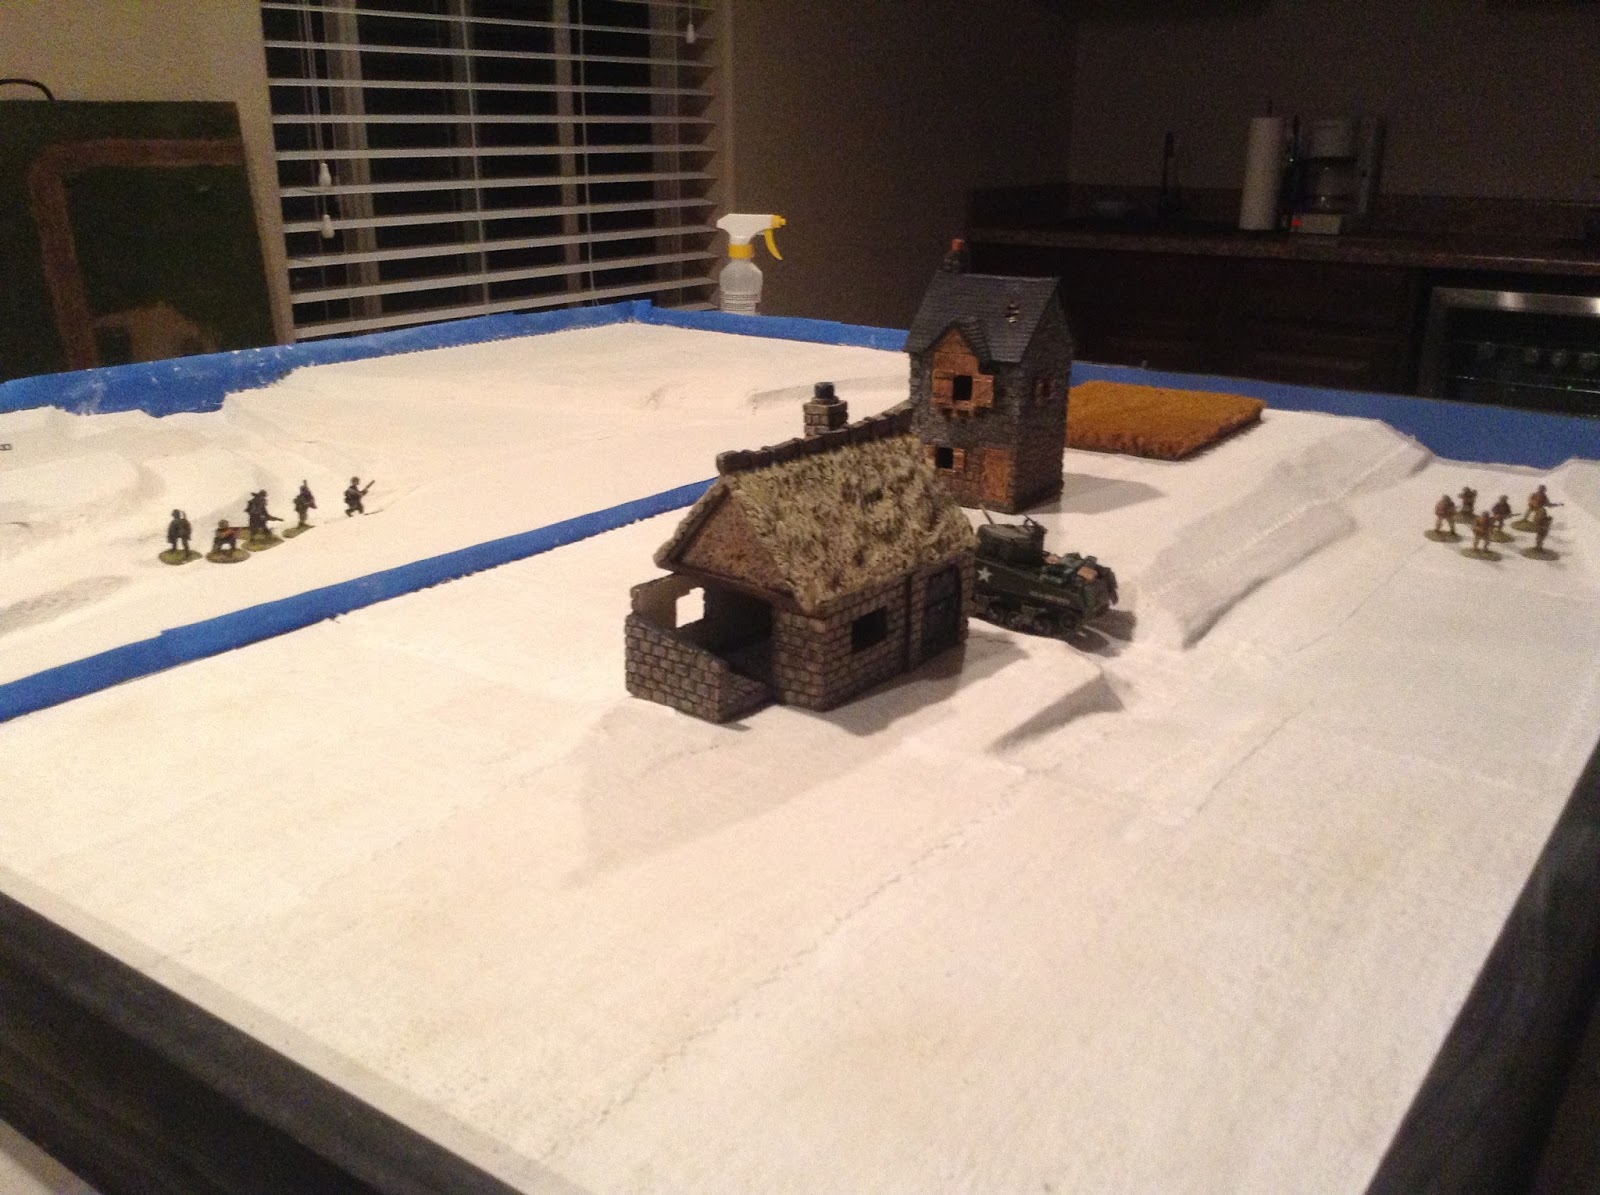
RECRUITS Bolt Action Board


Here I go again building out another gaming board.  A few ask why I keep building these.  Well besides the time it takes which is Therapy to me it actually is much cheaper in the long run for me.  I just hang these up on a closet wall and the next time I play it takes only minutes to setup for a battle.


Here is the usual framing.  I took two 2 x 4 foot sections, already cut from the local Home Depot.  This time I built up a 3 inch rail on three sides of each board and a two inch rail where I would join the boards together.  I will talk about that later.


After Power Grabbing the Foam sections and elevations to the board I cover with the usual Plaster Cloth.  Just shoot water and smooth it out.  I always have my vehicles, buildings, troops around for scale and to give me more ideas as to what I am trying to create.


Here is a look at the boards together.  I also added the Wooden and Pegs and holes at this point.  The concept is to be able to remove the trees, buildings, etc and place one board on the other using the pegs.   I will add the locks, handles and two wheels at the very end of the build.


I was going for more elevation(s) to make Line of Sight a little more challenging.  Bolt Action and any Skirmish Game system really takes that LOS seriously.  


Again, my new best friend is Tile Grout (Earth Color) to cover the plaster.


It goes on easy with a trowel and wear gloves!  It already provides a nice texture to it.  


Had this idea to buy some walls and then said, "wait a minute!, what about all this foam board you have laying around.  So I cut 3/4 quarter inch tall strips to create my walled fields.  You can also see the roads I put in.  That is simple Spackling putty and using some tape for the edges just smeared it on to get the paths I wanted. 


Roads got a Brown base and a lighter highlight at the end. 


Yes I wanted to get a more Spanish or Italian looking board and the Pine Trees may not be correct but I go a good deal on them at Caboose Train Store.  


The Buildings I believe are Miniature Building Authority.  Here again I am getting ideas and making sure the infantry have a good feel regarding the height of the walls.  


I got some Coco Matt from Tony Fryer, thanks Tony, using that stuff really makes a terrain board pop!


On the walls I smeared some Liquidtex Cereamic stucco available at the local craft store.  When that dried the walls got a black base and two shades of gray to give them a stone like texture.  


And then had this idea to hot glue some lichen to give it a semi bocage, hedge, vine growth kind of thing on the walls.  


Starting to shape up!  Note that the forest will be "unplugged" and bagged when in transport along with the buildings.  


This walled area will get full foliage on the walls while the other a little lighter.


The Building on the hill in the foreground was scratch built by Mr. Tony Fryer.  The interior even has wall paper and wood floors.  On this hill we are going to put the Ruined Farm that comes in the Bolt Action Normandie Starter Box.  


There is that house to the right that we will probably will not use.  Not about that dried up stream.  I saw some pictures when looking up Italy and Spain and one of those pictures gave me this idea of a dried up stream.  So I painted in some "puddles," dropped some rock and some wood pieces in there, then poured the liquid water and let it dry over night.  I also added some twigs from the backyard to make a makeshift foot bridge.  We will be creating a small forest path from this point to the road in the forest. 

A word to the wise, make sure you do your streams either before or after flocking.  Just make sure it is COMPLETELY dry.  I learned that lesson long ago.  It can make a mess when the stream is wet and you decide to start blowing off the excess flock.  Oh yeah, I did that in my early days...


Looking through the Forest from the road.  I was worried about having long open LOS.  Looking here if a tank got to that point in front of that wall it would be able to catch a vehicle coming around this bend.  Any further behind that wall the terrain drops a level or two which will make it difficult to setup that far away.  


And here is my Jedi painting, terrain, and everything hobby Master, Mr. Doug Wildfong.  He has been doing this for a long, long time and he knows his stuff.  He came over to my house with various flocking material and ideas to bring the terrain board to life!  


Doug will be running the Bolt Action games with me at Recruits.  We are also driving from Denver together, both our first time to this convention.  


As the work continues I mark the tree holes with screws so that we can flock away.  Probably a good idea to use the screws when in transport making it easier to insert the forest.


So here we are close to the final phases.  That stray field up left on that hill is where our ruins will be going.  And we are looking maybe to add some hedges or more trees on some open areas.  We should wrap this up in a couple of days.  Also note that I will be running some Napoleonic Skirmish in 28mm on the same board.  We plan to move a few things around and presto, some mano y mano skirmish combat.  
 I will update the blog showing the board hardware, wheels, handles, locks, etc.  Please stay tuned, join this blog to get the next updates over the next couple of days. 

Wednesday, August 14, 2013

Recruits (13 - 15 September) in Kansas City

I just wanted to let you know that a bunch of CMH members are driving to Recruits this year.  Many of us have been there before.  I have not and looking forward to playing and putting on some games.  Doug Wildfong and I are going to put on a Bolt Action and Song of Drums and Shako's demonstration games.

The first event will be "Skirmish Actions in Italy - 1943."  This will be our Bolt Action game on a new board I will be building.  We will be pitting the Americans against the Germans and will use the same demo style system as I experienced at Historicon.  Step up play a turn or two, stay if you like, no problem if you can't.  I have a feeling that once they sit down they will not leave.  

So besides introducing new players to Bolt Action I hope to interest some into Naploeonic skirmish.  Our next event is "Skirmish around Vimeiro, Spain, 1808" that will cover some bloody skirmish actions during the Peninsular campaign.

These rules are written by Sergio Lalisicia and are a set of Nappy Skirmish that brings a new twist to skirmish combat in this period. Our club has played them and everyeone that did too a liking to them.  We even put on a Campaign a year ago where everyone played their "squad" in a series of battles which gained them, if the survived, new skills to their troops.  should be allot of fun. 

I hope to see you at Recruits next month.  I am also looking forward to some serious BBQ.  If anyone has any suggestions please post them here!  

Thanks,

Dan

Recruits website:    http://recruits.mtswebsites.com/Events.php


Monday, August 12, 2013

Bolt Action at CMH

At this weekend's Colorado Military Historian (CMH) monthly club meeting Doug and I put on a couple of demonstration games.  One to introduce more members to this very nice game system for WWII and the next to get us some practice when we put this on at Recruits in September (http://recruits.mtswebsites.com/).  Pretty much everything you see on the table is from Doug's massive collection.  I think the only thing on the table that was mine were the two buildings.  

Anyway, we had a blast.  The system is simple, retains the WWII flavor and with the blind draw movement it can be a little exciting when you are praying to get the next move to either get your tank out of the way of a Tank Destroyer or you have troops rushing out in the open looking for cover.

So here are a few pictures from both games.  Note, the first game we used only infantry squads to get used to the rules and the second battle we added armor to get a feel for that too.

Nate and Doug on the American Side
In the first battle we went infantry vs infantry.  Everybody caught on pretty quickly on how the rules sequence and basic mechanics worked.  As a result of their understanding these concepts their tactics also changed..
Rob watching the sly Americans closely.
Aaron checking on Line of Sight which is important in Bolt Action. 
Line of Sight - as I mentioned it is very important having LOS to your targets.  So important that I am either going to build or order some gaming periscopes.

Warner and Aaron watching the American advance.

Move distances are pretty easy to remember.  6" Advance
and 12 inch run for infantry.
When you ADVANCE you fire with a penalty (unless you are Americans), or if you RUN you cannot fire.

Aaron (German Marder) is spotting my Bazooka Team whose is down a man.
Firing is also pretty simple to figure out.  You move (-1), over half your weapon distance (-1), terrain (-1), small team in the case of my Bazooka team (down one man) (-1).  So hitting a small team at distance and in terrain like a Bazooka, MG or sniper team is quite a difficult shot.  In this case I was able to scramble off the board with my Bazooka.  

Funny note.  I finally got my Bazooka line up for a shot.  But, they took fire from two different German squads to his front which put pin markers on him.  When I gave him the order to fire, you have to roll a morale test minus number of pin markers you have. Needless to say, he failed, he was receiving too much fire so hit the dirt which is symbolized by changing his order to DOWN.  No shot, but as I mentioned above regarding all those modifiers.  A unit under DOWN orders subtracts another (-1) to makes them even harder to hit.  So we didn't get a shot off at that Marder who was hosing us down with MG fire too.

We had one close call when Aaron's Marder stormed out of cover and took a shot at Andrew's Sherman.  Aaron hit the Sherman causing one pin marker, then he failed to penetrate the armor with a low roll.  Whew!  Andrew on his next turn was going to take his shot but since he had a pin marker he had to roll morale.  Sure enough, he failed and had to back up with a DOWN marker on his vehicle.  Next turn however, we got the first die.  Andrew then moved back up to engage the Marder.  He got the shot and destroyed the Marder into it's already thin armor.

Werner, Aaron Doug and Andrew, we all had a blast playing Bolt Action!

Each battle brought up some questions that we are reviewing to make sure we get it right next battle.  I was so thrilled with Bolt Action at Historicon at this meeting we had a Flea Market and I purchased some already painted Americans for my own forces and still looking for Germans!  

Dan

Monday, August 5, 2013

Creating the Plancenoit DBN Table


For the DBN battle I decided to contract another table for the battle. I used the Shako Scenario Book to design the table from that map.

For this DBN battle we changed the scale so that each unit were battalions.  So I was able to increase the size of the village and forest area to give us a better historical feel.  So this is a 2 x 4 foot table constructed just for this event at the CSGA/CMH 2013 throwdown.

So I built the usual frame using a 2 x 4 MDF board for the bottom and 1" x 2" boards for the frame.  I used #6 1 1/4 inch wood screws to secure the frame.  So I end up with a framed box with 2 inch sides.  I purchased some blue insulation foam from Lowes.  I purchased a 1 1/2" sheet and a 1/2" sheet.  The 1/2 inch sheet was glued to the bottom.  I then added a few foam pieces in on corner to give the next sheet some angle.

I next glued the 1 1/2" sheet (of course cut  a little shy of 2' x 4').  You have to take into consideration the frame.  I used a foam cutter for all the foam cuts by the way.  I let the foam sheets bond overnight with books weighing it all down. Then I added my hill and Village pieces and a few more small pieces to provide some curves in the surface.

The next steps are captured in the pictures below.

I taped it off with painters tape and cut out the Plaster Cloth.  I also gouged out the
stream in the foam before this step.
Then with a water bottle shot sections of the cloth and smoothed out the plaster over the
contours of the board.  

When the plaster sets, I take some of that very thin winter weather tape and
 taped out my roads.   Then using some spackle and a 1" plastic trowel I filled
between the tape lines.  It sets pretty quickly so you can remove the tape and
Voila!  Nice roads.  Then I round out the edges with my fingers so the road
edges are not so sharpe.

And many of you knew about this already but I just learned this from Historicon.
Pre-mixed ready to apply Tile Grout! Oh yeah, my new best friend!  I purchased some Earth
 color.  One small container is all I used.  It was sanded grout but it went on the surface
nicely.  You see the larger trowel I used. Here is the small stream and the village square.

Doesn't that look great?!  Already has color, nice hard surface that has natural
texture to it.  It goes on like thick mud or concrete.  And don't forget to use Surgical gloves!
So here I am trying to size the area for Plancenoit.  And I know there are many
renditions of what this board should look like but we wanted to keep it simple and
 not difficult to play with DBN rules. 
The tree bases were added at the end.  Just dropped a dollop of Grout and stuck
the base  in it.  Made sure the edges were covered and when it dried no problem.
This allows me to remove the trees for transport and then simply plug them in before the battle.  
More trees 
Gave the road a darker brown color as well as the stream.  Then I added water.
The water stuff takes overnight to harden completely. I added some rock to the bottom
of the stream.
I would have loved to leave it the way it dried but I had to add flocking.  I  brushed on
the water, white glue and a drop of dish soap solution to the non road, river or village surfaces
 in sections.  Then I dusted each section with flocking. 
After the first layer was set I then sprayed the same solution from a water bottle over
the entire board.  I did that twice to make sure the flock would stay in place.
Almost ready.  View from Prussian right flank.  You can see I painted the
sides of the table dark brown.
View from Prussian left flank.
Trimmed up the green walls and hot glued them down. 
Another view.
Prussian and French in the thick of it around Plancenoit.
You can't see it from here but eye level you can see the subtle curves I tried to
build in. If you look on the left you can see the handle I attached for easy carrying.
Along with some "bumpers" on the bottom and two on the opposite side of the
handle so you set it on its side.  I also put a handle at the far short end in order to
pull it out of my SUV easier.   I thought the terrain came out well and the game even better. 
 Thanks,

Dan